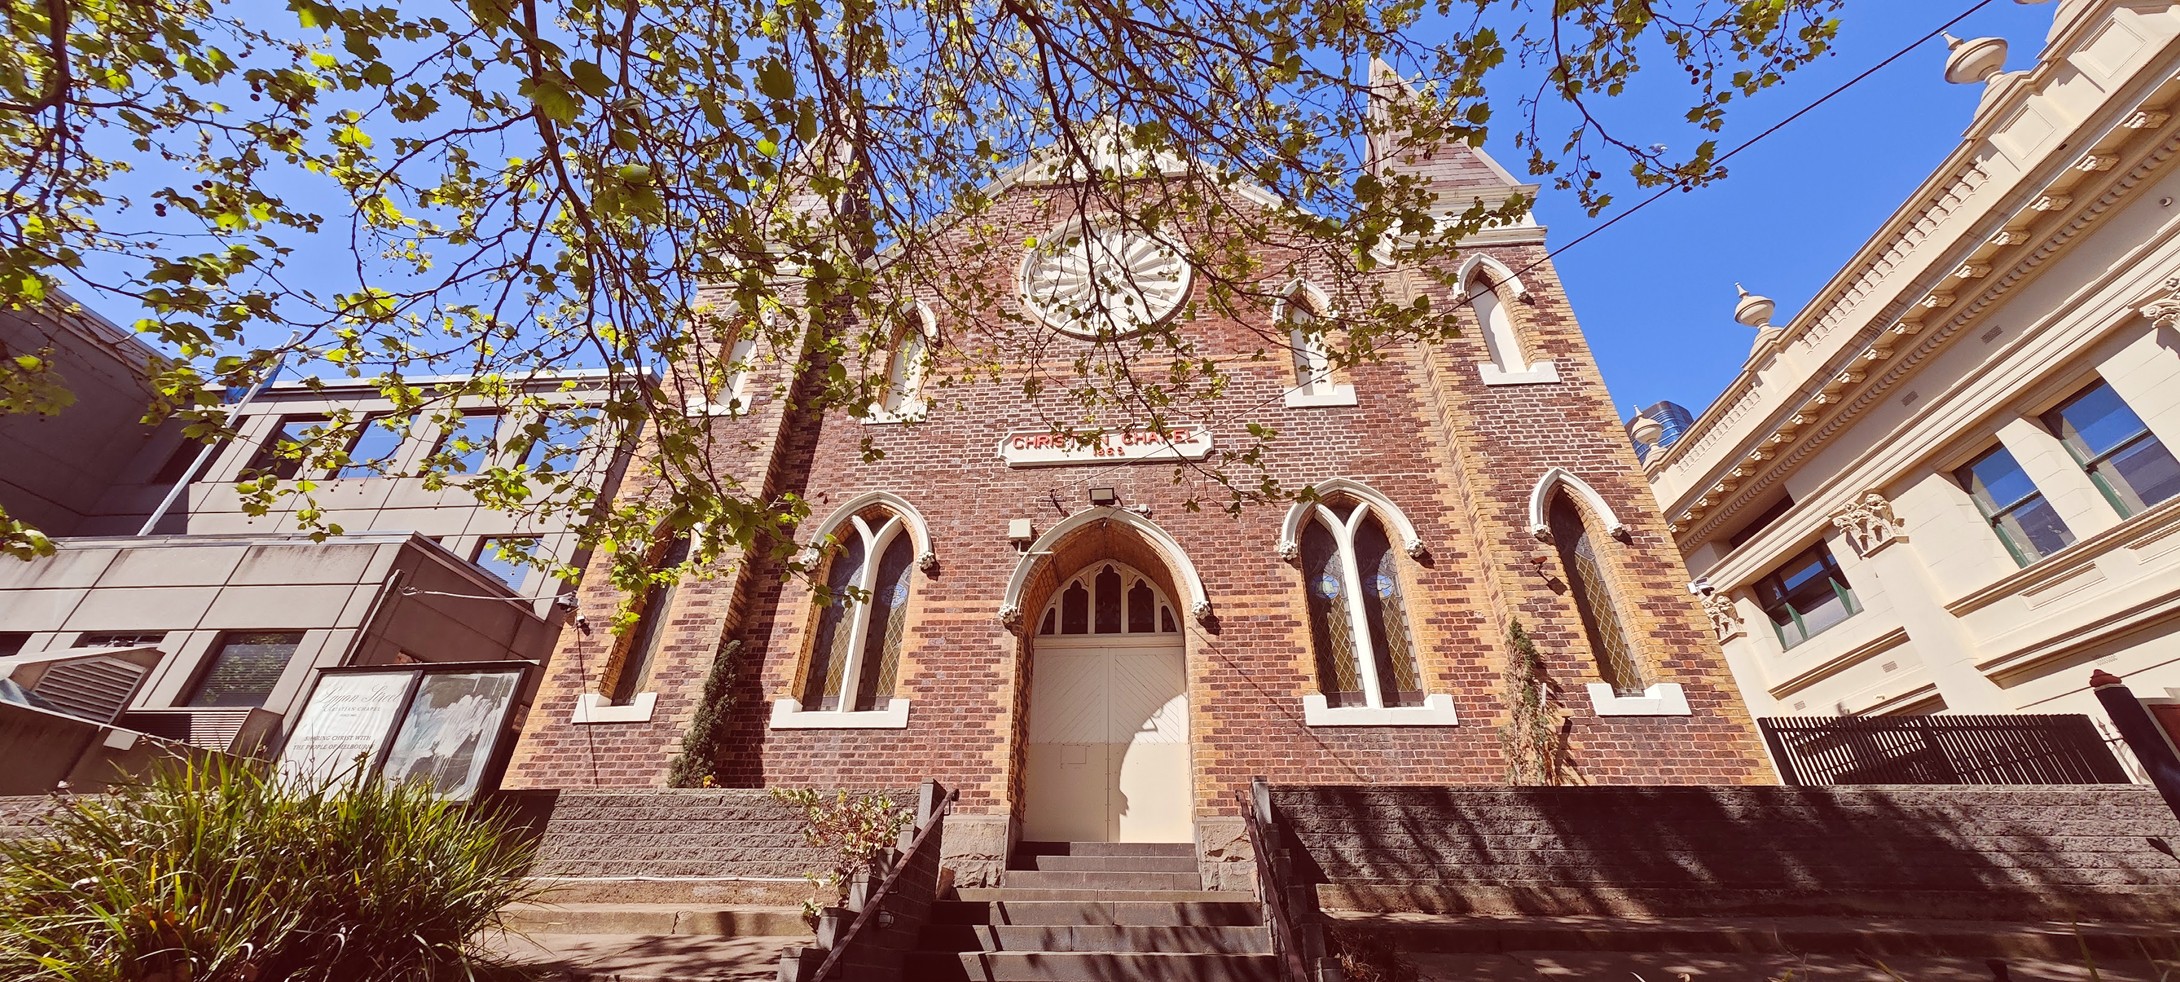
Lygon St Christian Chapel
Following Jesus in the Heart of Melbourne Since 1865.
Good Friday Service
Friday, 3 Apr 2026 · 10am
Easter Sunday Service
Sunday, 5 Apr 2026 · 11am
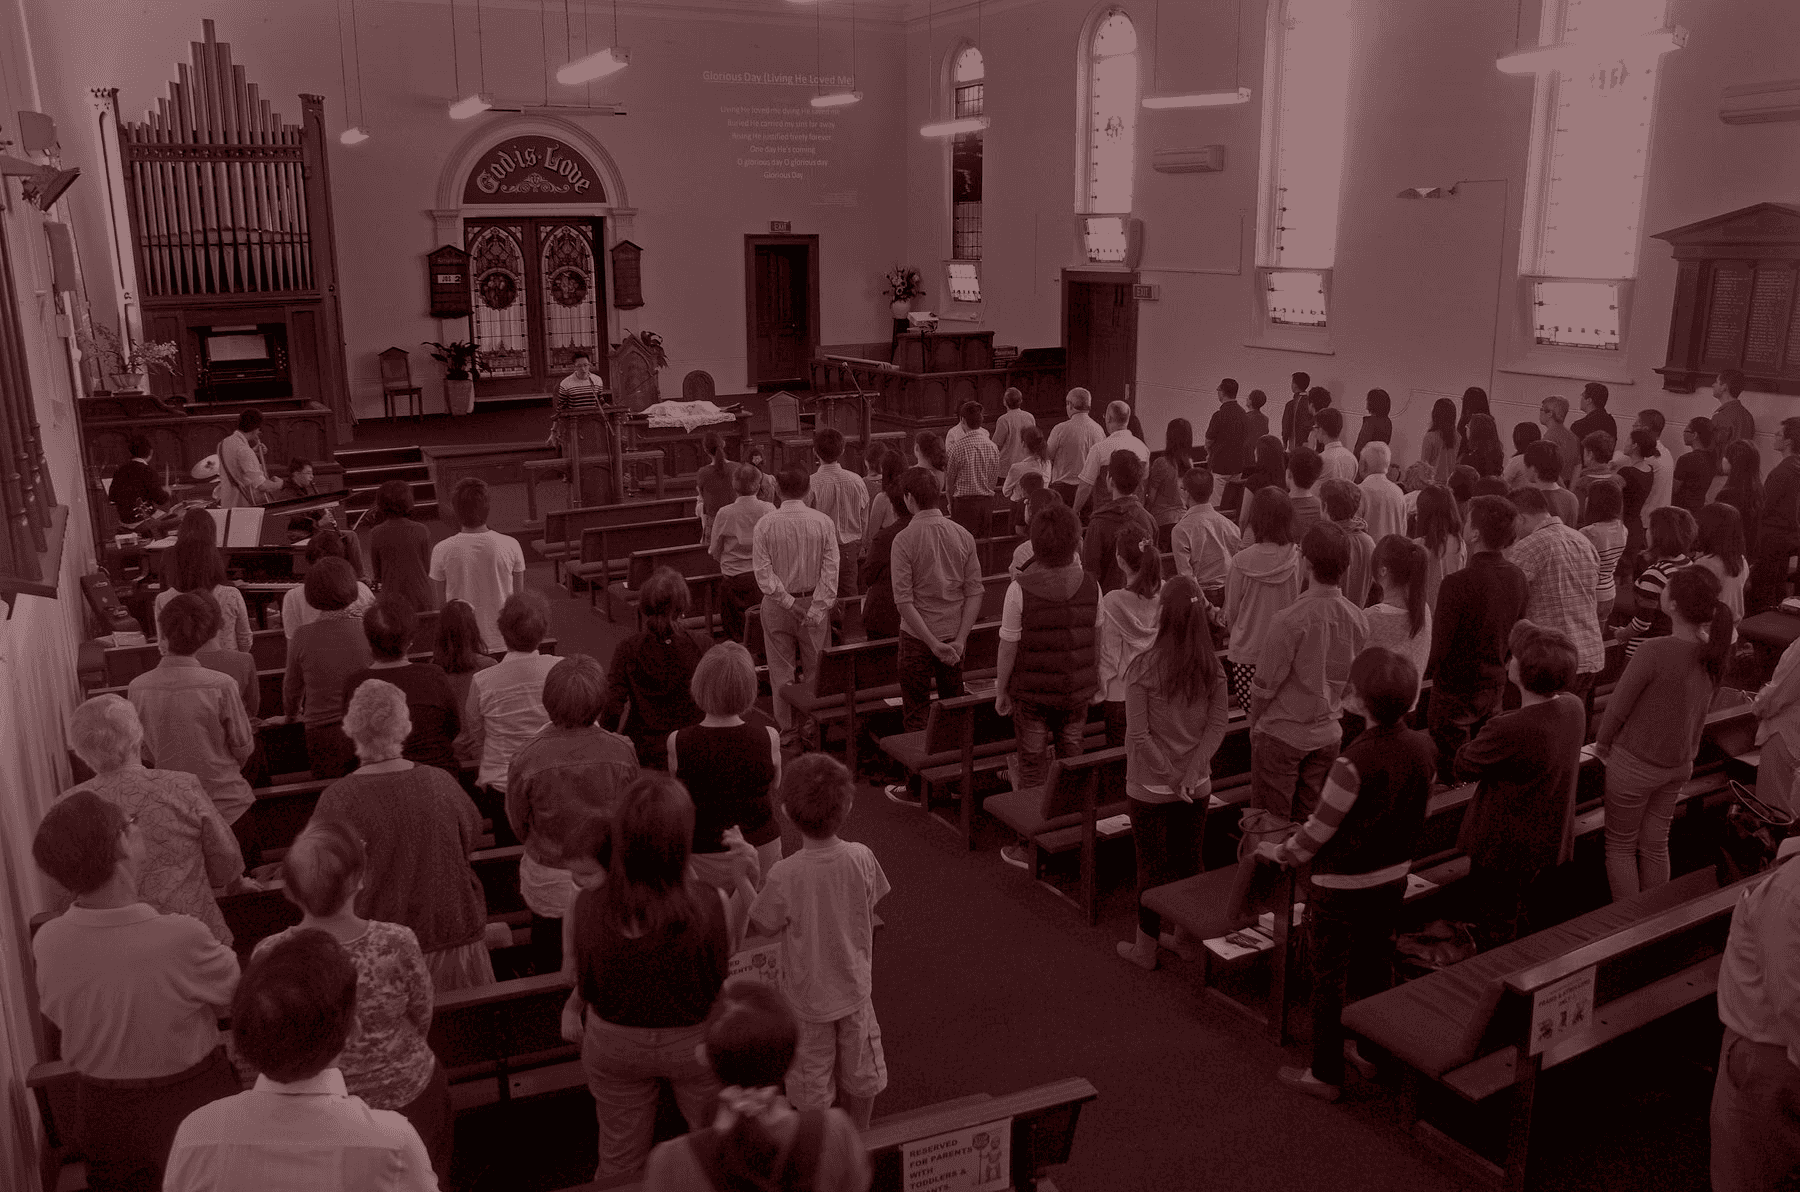
Looking for a church to call home? Join us this Sunday at 11am for worship, Bible teaching, and fellowship. We meet at 54 Lygon St, Carlton—you're welcome here.
Take your next step.
Whether you're exploring faith for the first time or looking for a church family, there's a place for you here.